Brief:
From hard reflective surfaces in an auditorium to the soft absorbent materials in a recording studio, the quality ofmaterials designer’s use has a direct impact on our sonic experience of space. Gaining an understanding of how materials behave in different spaces allows us to make informed decisions when designing. The objective of this exploration is to investigate the sound qualities of different environments around the campus
Exploration 3:Sonic Storyboard
|
|
|
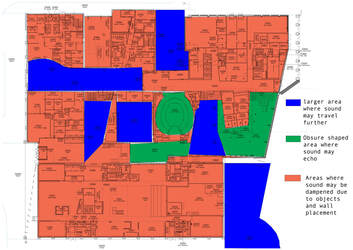
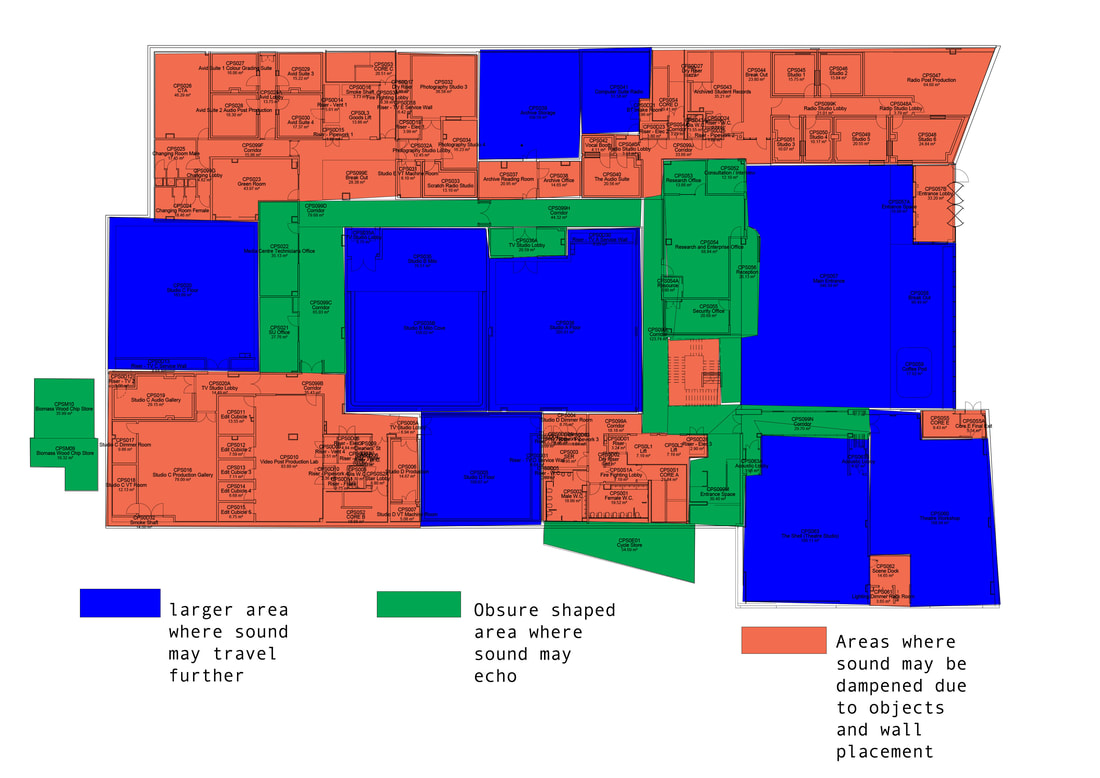
For this project, I began with assessing the buildings from a floor plan point of view. I colour coded and put keys for where I believed the noise would be dampened, echoed and also where sound may travel further. As you can see above this is where it is colour coded in green, blue and orange. I then travelled around these buildings recording the sounds and the levels of constant noice, abrupt noise and obscure noise. This evidence is here on the right coded by colour blue, black and red. If I could go back and do this again I would have coded my data better on the X and Y axis more clearly to indicate the raise in the level of noise.
|
|
|
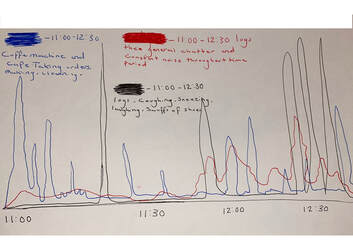
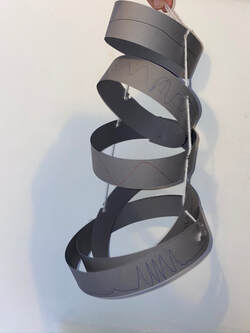
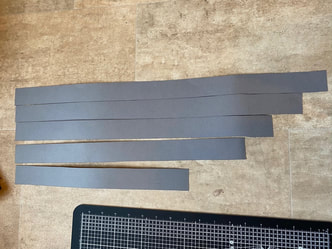
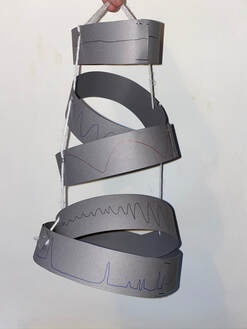
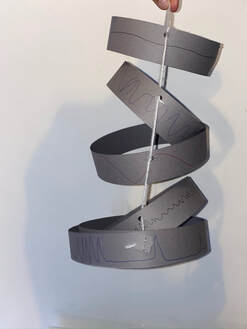
After I had collected my data, I struggled to think of which way I should go with interpreting this sound. looking back on it now I think an extra step of interpretation drawings would have been helpful in the process of interpreting into a structure and sound scape.My first initial idea was to create a cascading sound chime out of strips of grey card as seen above. With the colour coded data that I recorded drawn on the outside of the strips. As seen above. Going on from here I realised that this was not up to a standard that I like to hold myself and my work, I found that I was finding this exploration especially challenging; Because I wanted to represent this noise data in a more abstract but literal form and the sound chime Idea was not doing this any justice.
|
|
|
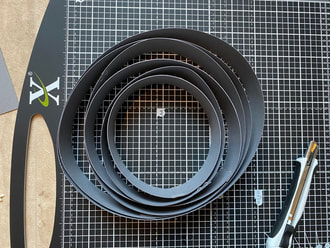
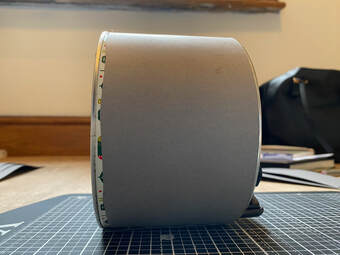
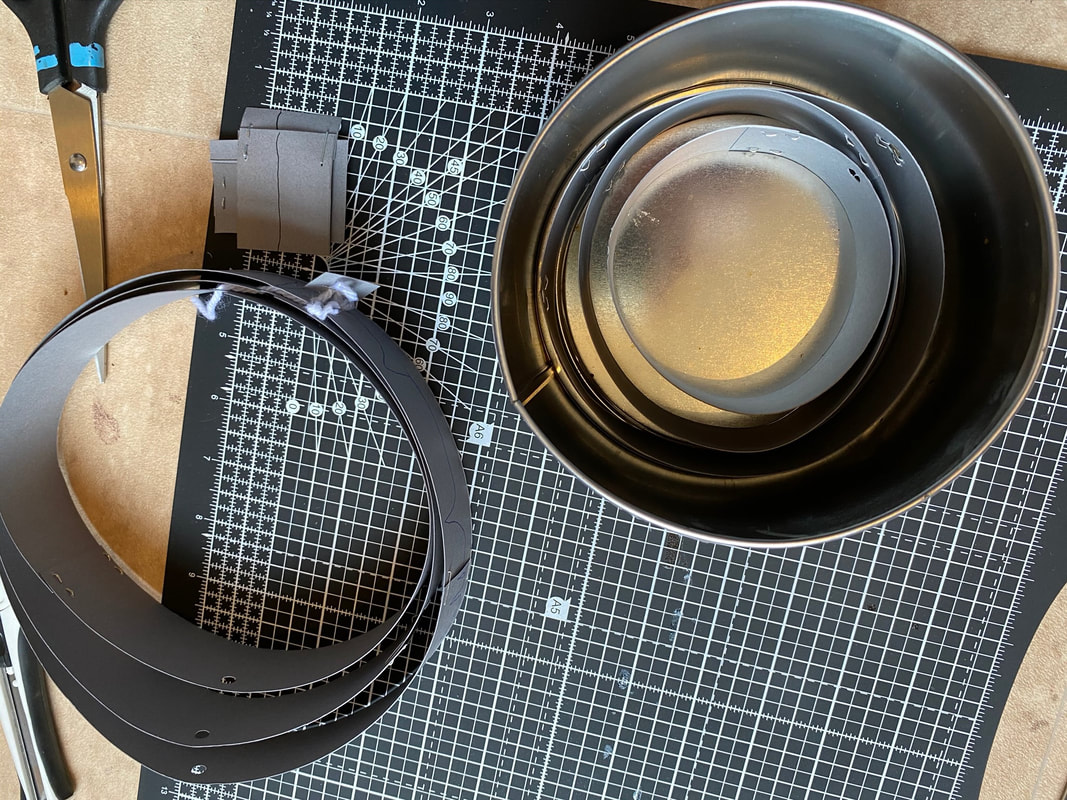
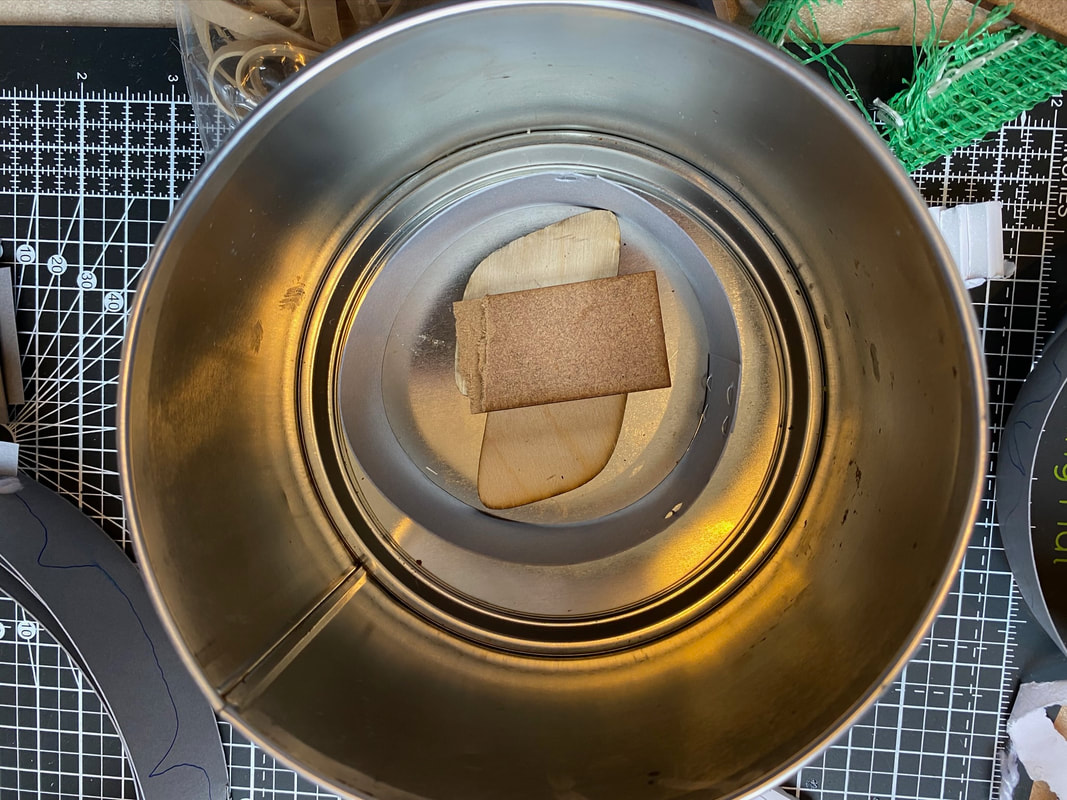
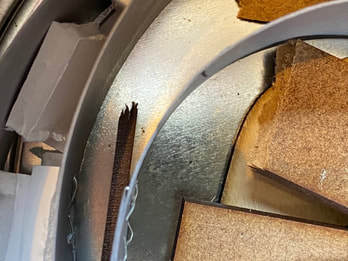
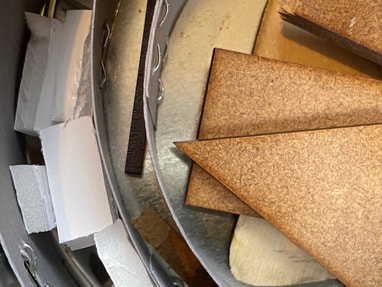
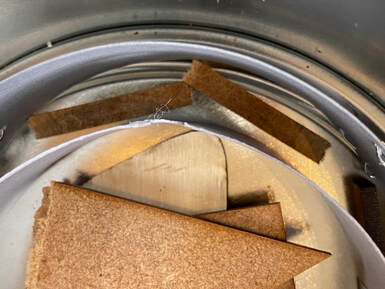
From there I decided to delve into my box of scrap and recycled materials. I found this old biscuit tin and when I put something into it it created a echoed while still being dampened sound due to the size and material of the box. I wrapped the outside with card and dismantled my previous attempt at the project brief. I altered the strips into slightly smaller circles so one would fit inside another inside the box as you can see and repeated this process until I had four separate sections within the tin in the gaps of the circles. I then got more scrap materials and filled in these gaps to sound proof with recycled materials. In the centre I put parts of broken mdf wood and related this process until my gaps were full. I used bits of wood and styrofoam to see how the sound would change in the box from when it was empty to when it was full.
|
|
|
Above are some examples of how I filled these spaces and with the materials I used to do so. I experimented with how much I should use by spinning the tin and strapped my phone, using elastic bands, to the top to record what happened inside. Obviously the box did not spin and turn properly with these added to the side and while moving the tin my phone would fall out of place and and so would everything inside. Like I said previously if I was to do this again I would interpret my data into drawings first to help me on my journey to structure and in future when making a box of sounds potentially add a smaller Go-pro type of camera to the box in order for it to move more freely. Although I was correct in my assumption that while the noise inside the box would be one constant and and in sync noise the noise outside the box was dampened and muffled because of the structure I had created on the inside.
Below are some more images from this exploration
Below are some more images from this exploration
